ten horror shots
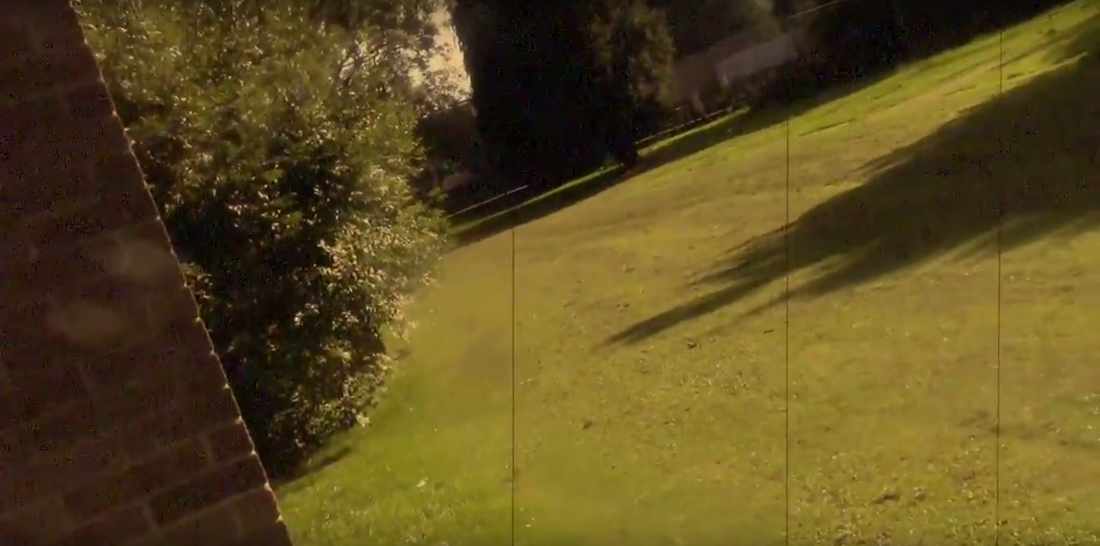
1) OFF KILTER
An off kilter shot is when the camera goes on to a angle and it gives a feeling of something that is gone wrong or not quite right. It sets the scene to draw the tension towards a victim.
An off kilter shot is when the camera goes on to a angle and it gives a feeling of something that is gone wrong or not quite right. It sets the scene to draw the tension towards a victim.
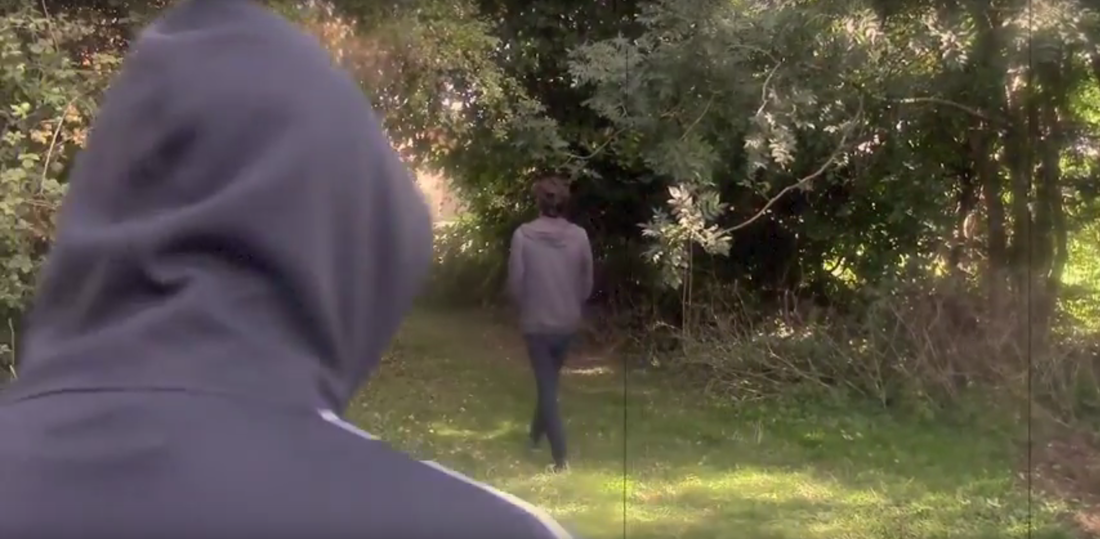
2) OVER THE SHOULDER SHOT OF THE KILLER
This shot shows the point of view of the killer for the first time in the horror shots. This gets the audience to begin to feel fear for the victim almost as if they are the victim themselves. This creates a great build up as the audience begin to see the stalker's dangerous killing act unfold.
This shot shows the point of view of the killer for the first time in the horror shots. This gets the audience to begin to feel fear for the victim almost as if they are the victim themselves. This creates a great build up as the audience begin to see the stalker's dangerous killing act unfold.
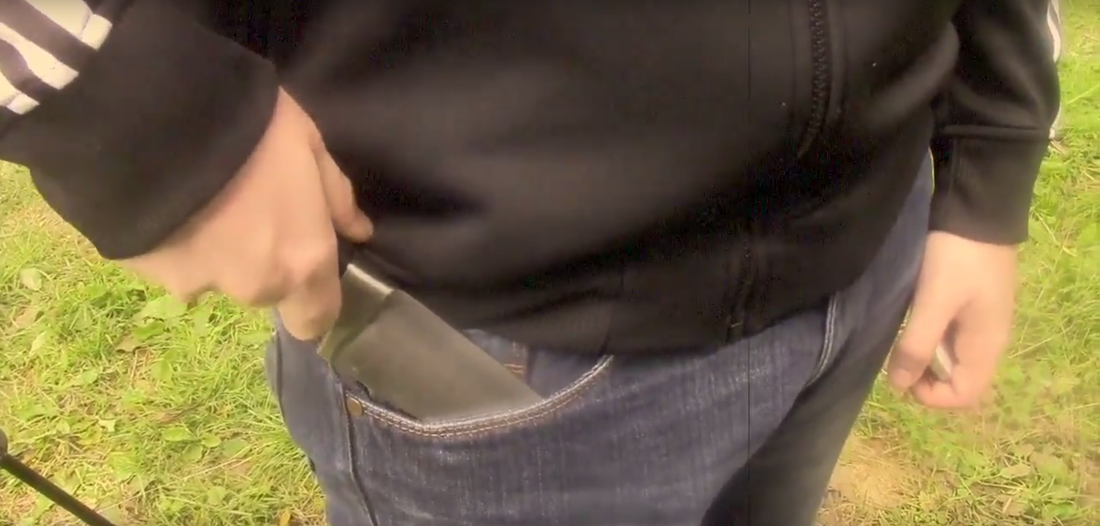
3) CLOSE UP ON WEAPON
The close up of the weapon could be the opening introduction to being truly scared of the mystery killer. showing a blunt blade to the audience ensures them that there will be a brutal and bloody ending that will leave you feeling really creeped out and afraid of hooded individuals in real life. if you make the killer relevant/possible to occur in real life then it leaves the audience truly believing that it could really happen.
The close up of the weapon could be the opening introduction to being truly scared of the mystery killer. showing a blunt blade to the audience ensures them that there will be a brutal and bloody ending that will leave you feeling really creeped out and afraid of hooded individuals in real life. if you make the killer relevant/possible to occur in real life then it leaves the audience truly believing that it could really happen.
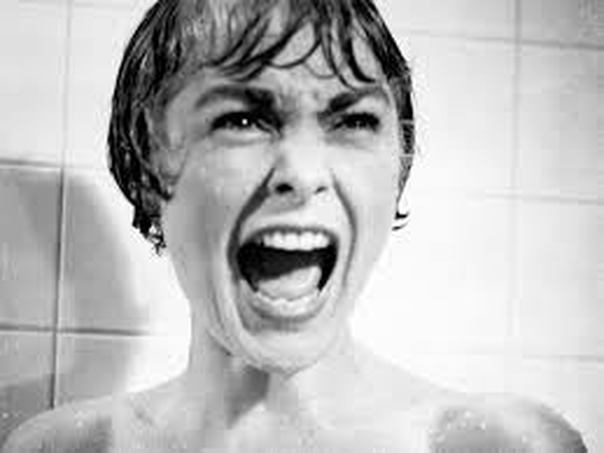
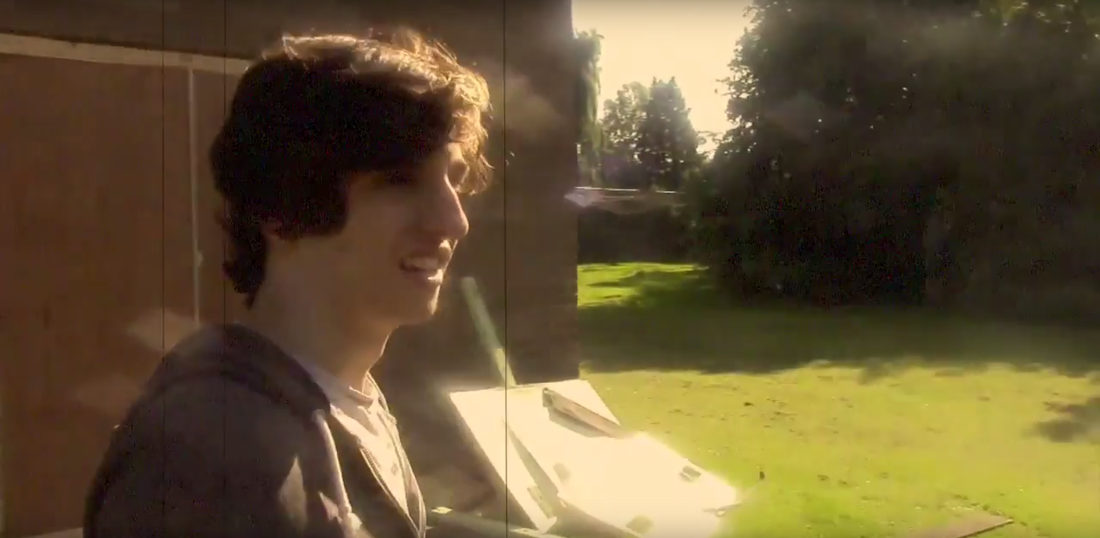
4) CLOSE UP / EXTREME CLOSE UP OF FEAR
This shot shows the fear on the face of the victim. This lets the audience see how much fear they are in and makes the audience feel fear for them as well. it shows the real expression on the victims face in more detail.
This shot shows the fear on the face of the victim. This lets the audience see how much fear they are in and makes the audience feel fear for them as well. it shows the real expression on the victims face in more detail.
5) 360 DEGREE SHOT TO SHOW ISOLATION / FEAR
The 360 degree shot shows the fear and the whole
The 360 degree shot shows the fear and the whole
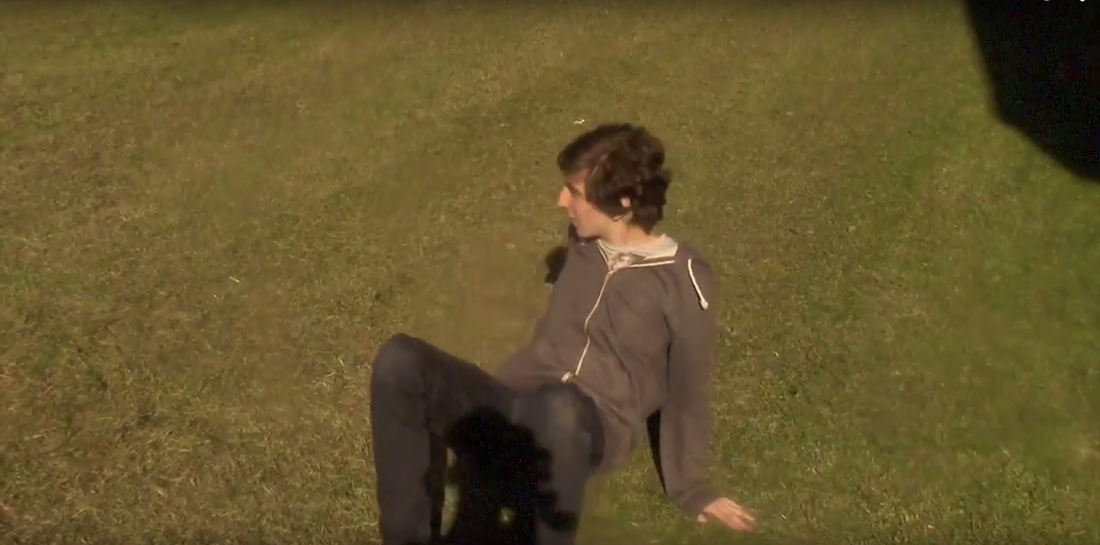
6) HIGH ANGLE SHOT TO SHOW VICITM’S VULNERABILITY
7) LOW ANGLE SHOT TO SHOW THE POWER OF THE KILLER

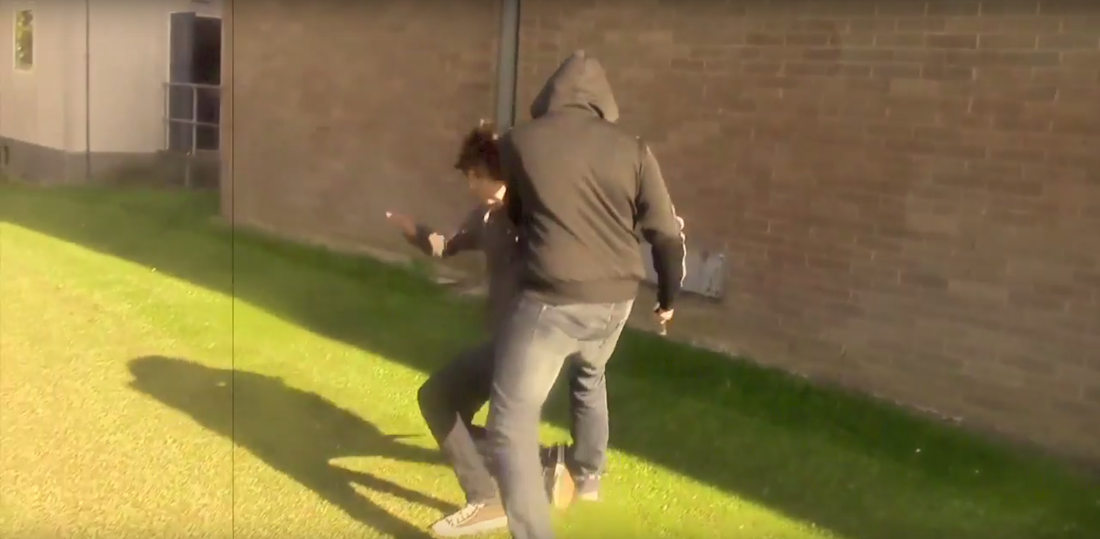
8) HOW TO STAB SOME-ONE WITHOUT HURTING THEM
9) POINT OF VIEW OF VICTIM AND KILLER AS VICTIM CRAWLS AWAY ON HER BACK AND KILLER APPROACHES
10) USE THE POWER OF SUGGESTION…
10) USE THE POWER OF SUGGESTION…
What went well
The music in the background made the video more tense which helped as it made up for lack of dialogue. The old style video effects that were added formed a very eerie atmosphere to help as much as we could with the sunny location which we had filmed in. An effective use of props such as a knife, fake blood and the surrounding environment worked well in conjunction with the camera shots we made.
What did we learn
During the filming process we learnt how using multiple camera shots can produce a really interesting film when put together. we were also taught how to edit the clips using editing software called "Movie Plus". This software has many tools that allow you to chop up a clip, mesh audio over the clips mp4 files and add filters over it produce a more ominous atmosphere. we discovered sound from royalty free clips on Youtube that were converted into downloadable MP4 files.
What were the problems
Finding an appropriate location was an issue as the film was recorded during the day. This meant that we had the sun high in the sky which is the opposite of the pitch black night scene we wanted. We also had an issue finding a place where other groups were already filming in that would end up popping up in shots. We also struggled getting used to the rules of continuity for the first time.
What would we do differently
We would definitely consider changing the location to somewhere that would give us a much darker atmosphere. It may also be good to include more interior dark buildings to produce a more claustrophobic setting. We would also work on becoming better at sticking to the rules of continuity but having the ability to worry less about it so that filming comes more naturally and less stiff.
